
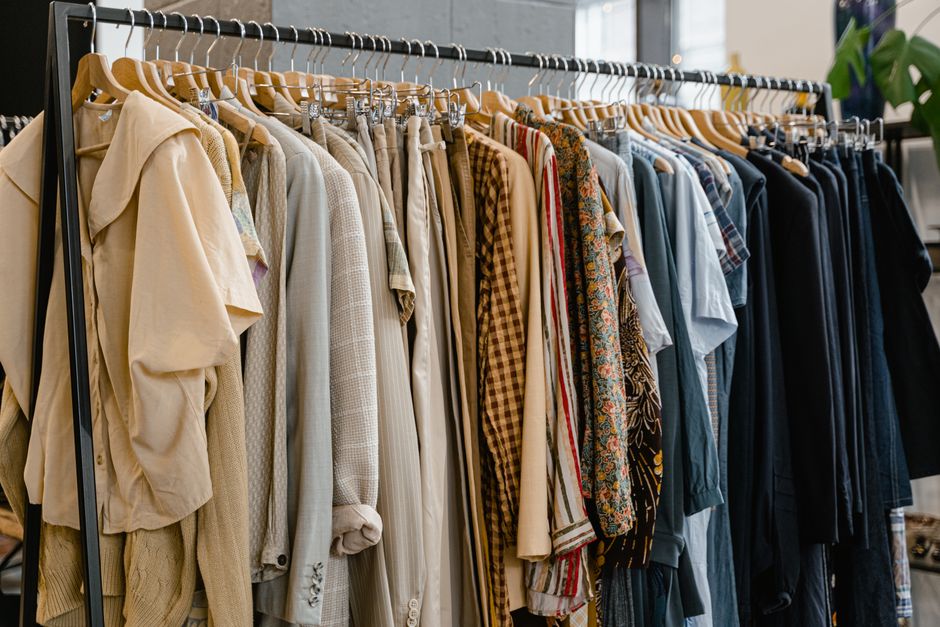
Can you actually do a wardrobe closet gender reveal without turning your bedroom into a disaster zone? Yes, but you have to accept one thing first: this is a styling challenge, not just a party game. You are using clothes as the prop. If the outfits look sloppy, the reveal looks sloppy.
Most people overthink the logistics and underthink the fashion. They buy cheap pink or blue shirts from a discount bin, shove them on a rack, and wonder why the photos look like a laundry pile. I spent a weekend putting together a plan that treats the closet like a set design. Here is how to do it properly.
Why A Closet Reveal Works Better Than Balloons
Balloons pop. Confetti gets in your carpet for six months. A wardrobe reveal gives you something you can actually use afterward—clothes for the baby. The core idea is simple: you open a closet door or a wardrobe, and inside is a curated set of outfits in either pink or blue. The color tells you the gender.
The problem is that most closets are dark, cramped, and full of old coats. You are not working with a blank canvas. You are working with a storage unit. To make this work, you need to empty the space completely first. Do not try to hide the reveal clothes behind your winter jackets. It will look chaotic in photos.
Lighting matters more than the clothes themselves. If you have a standard bedroom closet with no internal light, buy a stick-on LED light bar. The Philips Hue Lightstrip costs about $80 for the base kit and lets you set the color to a soft pink or blue glow. That single detail elevates the entire shot from amateur to intentional.
What To Put Inside The Closet
Do not fill the rack with fifty cheap onesies. That looks like a store clearance section. You want a tight edit of three to five pieces that tell a story. Think about the silhouette of the clothes hanging there. A tiny denim jacket next to a pair of little sneakers reads better than a row of identical bodysuits.
The Hero Piece
Pick one standout item that anchors the whole display. For a boy, a miniature leather jacket from Zara Kids (usually around $40) looks incredible. For a girl, a smocked dress from Janie and Jack (prices range from $35 to $70) gives you that classic, high-end texture. Hang this piece front and center.
Supporting Pieces
Add two or three simpler items to fill out the rack. A pair of soft knit pants, a plain white onesie, and a tiny pair of shoes. The shoes are important. They add a human element. Nike makes infant sneakers for around $30 that look like miniature versions of the adult classics. Do not skip the shoes.
If you want to get really specific, use a color palette that is not just flat pink or flat blue. A dusty rose or a navy blue looks more sophisticated in photos than a neon primary color. Your camera will thank you.
Setting Up The Space Without Ruining Your Wardrobe
Here is the part nobody talks about. You have to remove all your own clothes. Every single hanger. If you leave a black t-shirt in the corner of the frame, it distracts from the reveal. Take everything out and put it on your bed for an hour. It is annoying, but it is necessary.
Clean the shelves. Dust the rod. Wipe down the inside walls. A dirty closet next to a cute baby outfit is a weird contrast. You want the background to look like a boutique, not a storage unit.
Hanger Quality
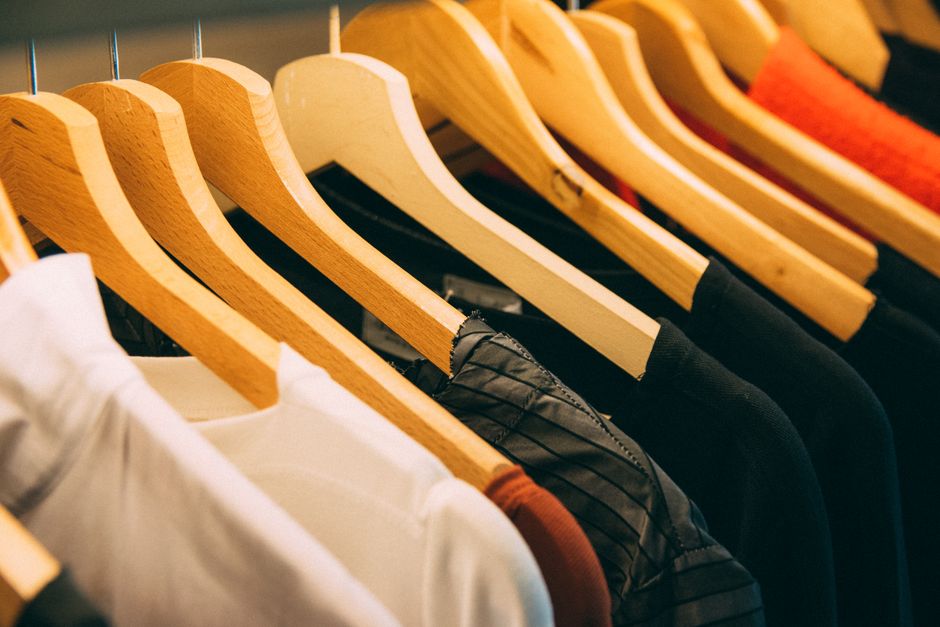
Do not use mismatched plastic hangers. Buy a set of wooden hangers or velvet hangers. IKEA sells a pack of 8 wooden hangers for about $5. They look consistent and they hold the clothes properly. This is a small detail that makes a big difference in the final photo.
Positioning The Clothes
Space the hangers evenly. Leave about two inches between each piece. If you cram them together, the reveal looks like a sale rack. You want each item to be visible. Use the rule of thirds: the hero piece goes slightly off-center, not dead center. It looks more natural.
For the big moment, you have two options. You can open the door yourself, or you can have someone else open it while you watch. The second option is better for video. The first option is better for photos. Decide which one you want before you set up.
Common Mistakes That Ruin The Reveal
I see the same three mistakes over and over again. First, people use too many clothes. The rack looks crowded and you cannot tell what you are looking at. Second, they use the wrong shade of pink or blue. A pastel pink reads as white in bright light. A dark navy reads as black. You need a mid-tone color that is obvious on camera.
Third, they forget about the floor. The bottom of the closet is visible in most photos. Put a small basket or a folded blanket down there to anchor the space. Do not leave it empty. An empty floor looks unfinished.
Test your lighting before the actual reveal. Take a photo with your phone, look at it, and adjust. Do this the day before. Do not wait until the moment of the reveal to realize the clothes are in shadow.
What To Do With The Clothes Afterward
This is the best part. You actually use these clothes. The baby wears them. That is the whole point. Do not buy outfits just for the photo and then donate them. Buy pieces you genuinely want to see your kid in. The leather jacket becomes a keepsake. The shoes go in a memory box.
Wash everything before the baby wears it. Even if it is brand new. Baby skin is sensitive and the clothes have been hanging in a closet collecting dust. A quick wash with a gentle detergent solves that.
If you want to preserve the hero piece, do not put it in the regular rotation. Hang it on the wall in the nursery as decoration. It transitions from a reveal prop to a piece of art.
Alternatives To The Standard Closet Setup
Maybe you do not have a walk-in closet. Maybe you live in an apartment with sliding doors and bad lighting. You have options.
- The Wardrobe Armoire: If you have a freestanding wardrobe, use that instead. It is easier to control the lighting because you can move it near a window.
- The Garment Rack: Buy a cheap rolling garment rack from Amazon Basics (about $30). Set it up in front of a blank wall. This gives you full control over the background and the lighting.
- The Drawer Reveal: Instead of hanging clothes, fold them neatly in a dresser drawer. Open the drawer to reveal the color. This works well for small spaces.
- The Suitcase Reveal: Pack a small vintage suitcase with the outfits. Open the suitcase to reveal the gender. This is great for travel or for a more vintage aesthetic.
The garment rack is actually my favorite option. It removes all the variables of a built-in closet. You get clean lines, good light, and you can style it from scratch. If you have the space, do this instead of fighting with your existing closet.
Quick Comparison: Closet Types For Reveals
| Setup Type | Cost | Effort | Photo Quality | Best For |
|---|---|---|---|---|
| Built-in Closet | $0 (existing) | High (empty and clean) | Medium (lighting varies) | Walk-in closets with good light |
| Freestanding Wardrobe | $0 (existing) | Medium (movable) | High (control placement) | Bedrooms with window light |
| Garment Rack | $30–$50 | Low (assemble once) | Highest (full control) | Small spaces, blank walls |
| Dresser Drawer | $0 (existing) | Low (fold clothes) | Medium (top-down angle) | Intimate, close-up reveals |
| Vintage Suitcase | $20–$40 (if buying) | Low (pack outfits) | High (unique aesthetic) | Travel reveals, vintage themes |
The garment rack wins for pure photo quality. The built-in closet wins for convenience. Pick the one that matches your space and your patience level.